Deep space astrophotographer for 3 years, professional image maker for more than 20…
Samuel Morse
Sam is the mastermind behind Utah Astro. What started as a hobby in 2022, following a project that called for astro timelapses, has gown into a passion he hopes to pass on to others. He’s guided by a curiosity for the stars, a passion for imagery from his 20 years as a professional photographer and cinematographer, and a love for teaching and mentoring the next generation.

On the topic of color…
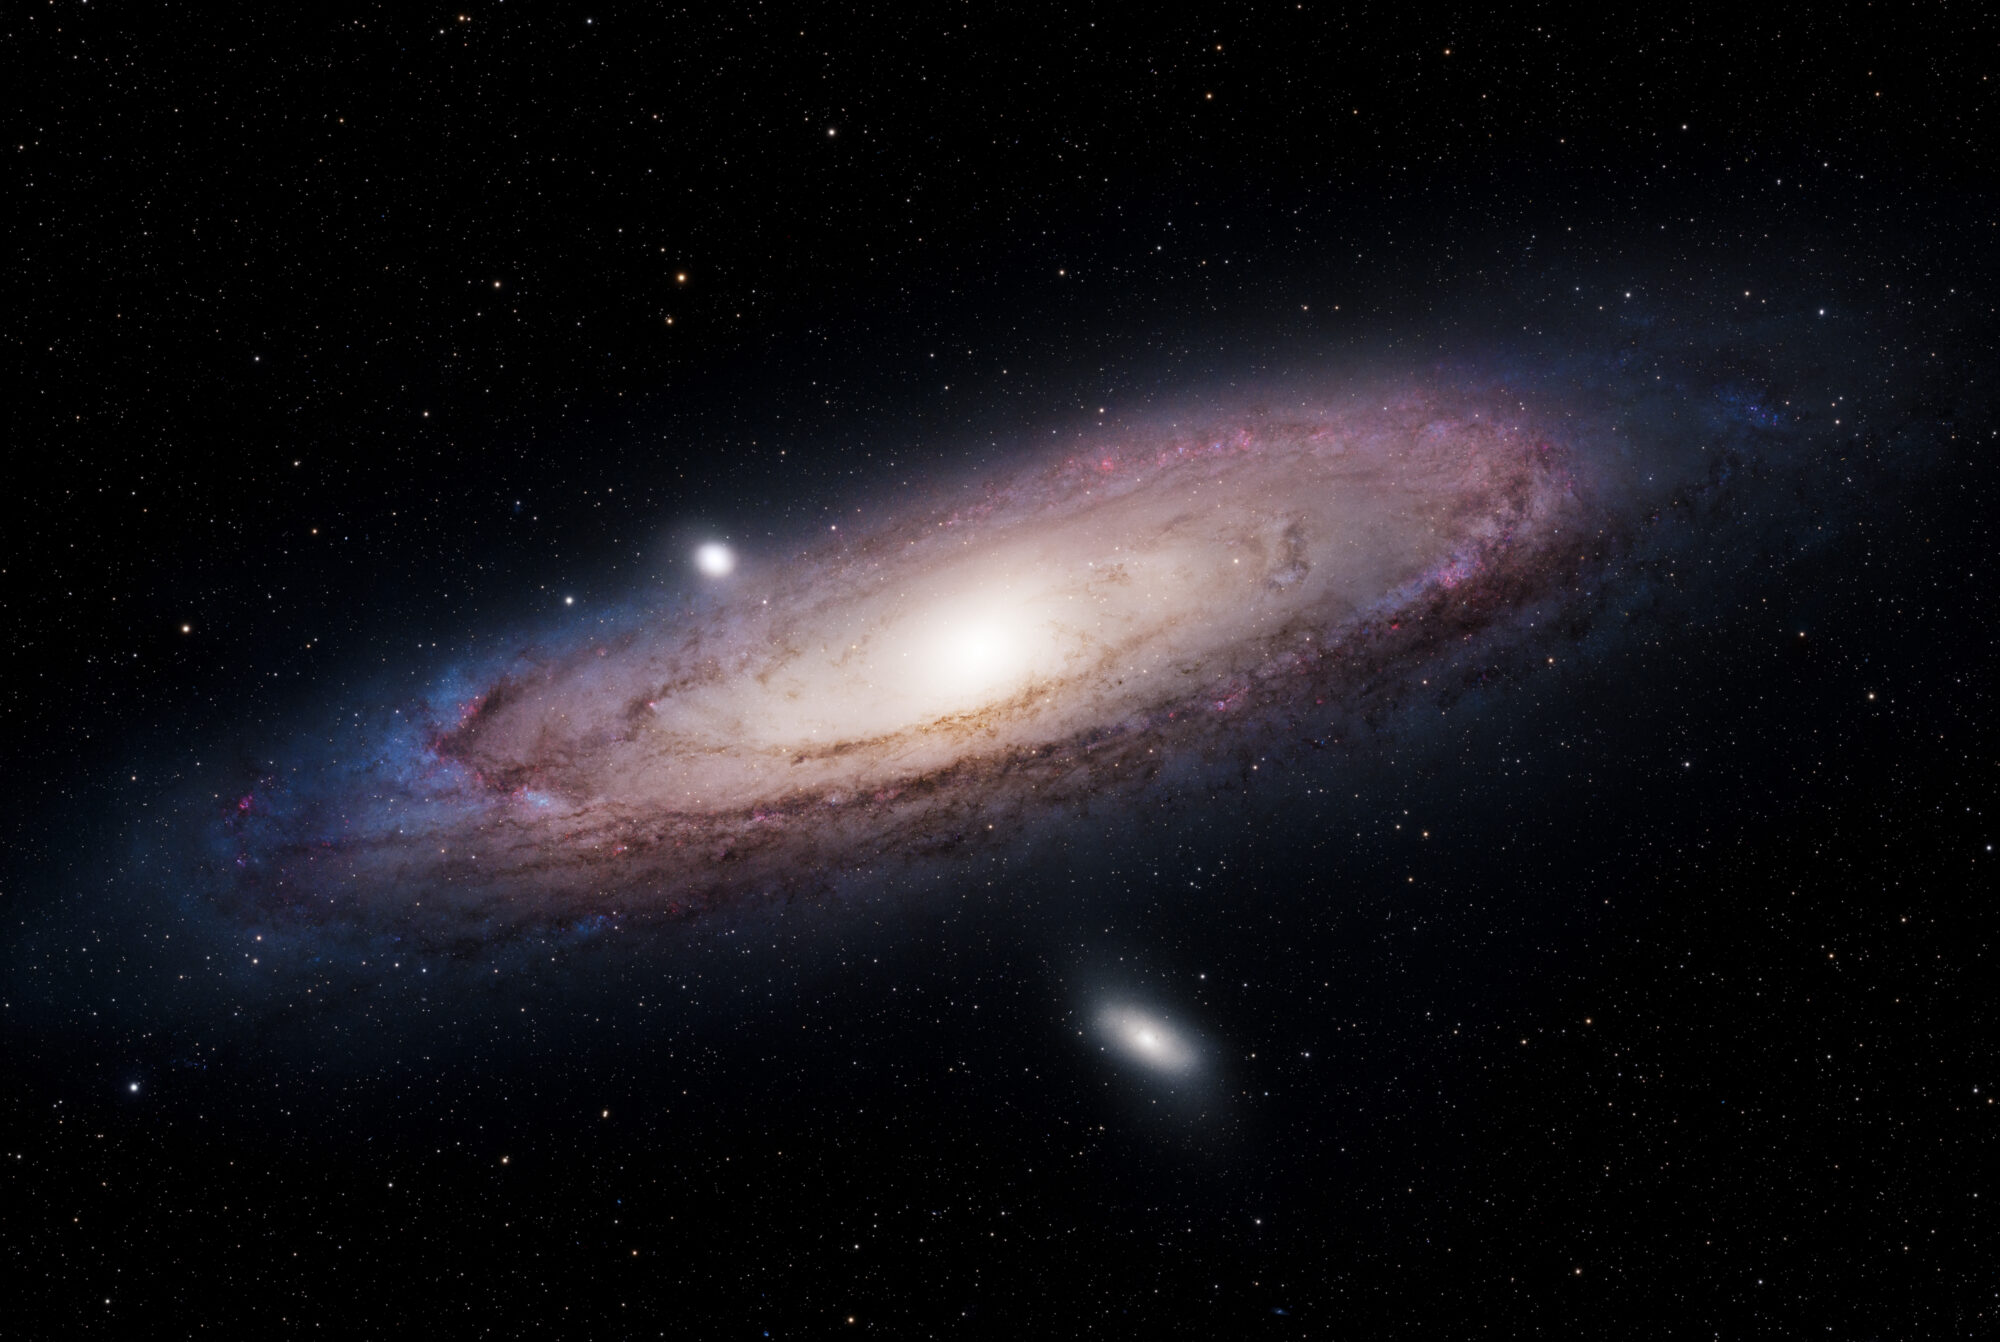
One question I get asked a lot is “is that the real color of ____?” The best answer is “sort of.” Now, some images like the Andromeda Galaxy, Rho Ophiuchi, and most reflection nebulae are quite colorful and I present them in their natural color, just with a bit more saturation and “pop.”
Emission nebulae are where it gets a little more complex. Ionized gasses emit light at very specific frequencies. Those frequencies can be captured separate from all the others using narrowband filters. These filters let you see more detail of specific gasses and make for colorful images. However, two of the three most common gasses are right next to each other in the red spectrum, indistinguishable to the naked eye and color camera sensor. Capturing these images separately lets us re-map them to other colors to see the different regions better. This is the same image presented in three different “palettes.”
The first image seen here approximates what these gasses would look like to the naked eye. Colors are muted because human low light vision can’t distinguish color, and the overall appearance is dim.
The second image shows how it looks to a color camera. The red regions are a mix of Hydrogen Alpha (Ha) and Sulfur II (SII), while the teal region is Oxygen III (OIII). Straight out of the camera, it’s more red, but this is essentially “white-balanced” for balanced color. The vast majority of light-emitting gasses in the universe is the red Ha gasses.
The third image uses just the SII and Ha data, taking the red regions and separates them out, remapping Ha to Red, and Sulfur to Green and Blue. We call this “HSS” to show which gasses are mapped to Red Green and Blue (RGB) respectively.
The fourth image is the most common way these gasses are depicted by astrophotographers, including those running the Hubble Space Telescope and James Web Space Telescope. Aptly called the “Hubble Palette,” it uses SHO mapping, allowing each gas region to have its own color channel. The result is both scientific and beautiful.
The next four images show some examples of other images that are presented in a more natural coloration, or merely augmenting normal color with narrowband data. We refer to these as “broadband targets.”
Nebulosity is dim and mostly without color because human low light vision cannot see color
Much of the image is red since hydrogen alpha and sulfur II emissions are red. Oxygen III appears teal.
The red regions in the previous image are separated into the two distinct wavelengths that represent hydrogen alpha (mapped to red) and sulfur II (mapped to green and blue)
Narrowband images capturing sulfur II, hydrogen alpha, and oxygen III are mapped to red, green, and blue respectively.
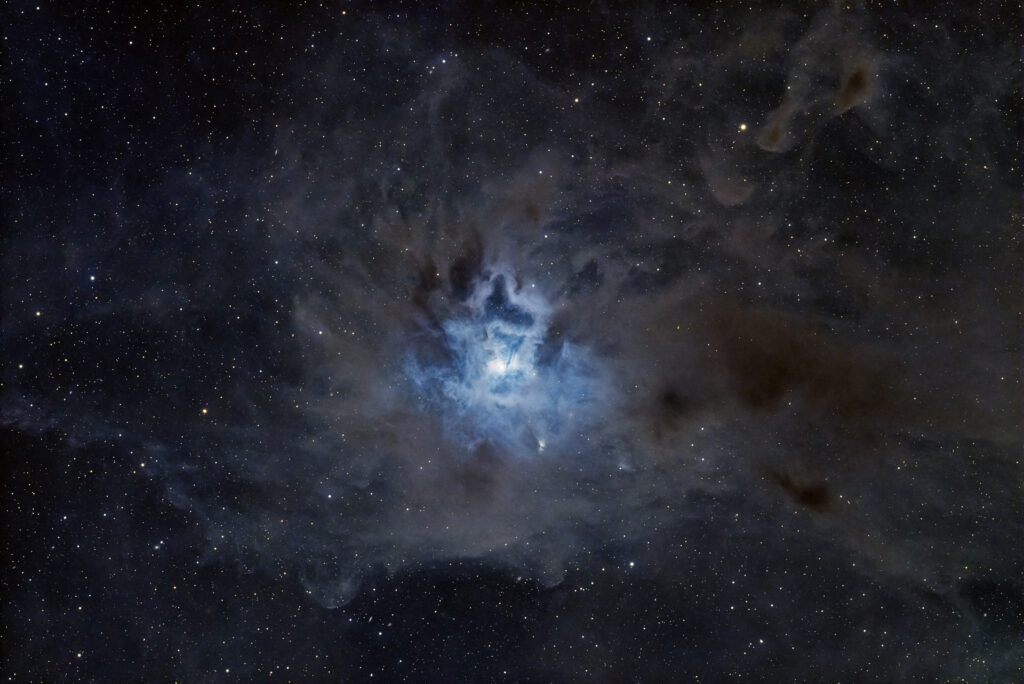
Reflection Nebulae like the Iris Nebula only reflect light from neighboring stars, and are presented in natural color

Galaxies can be presented in normal color, but with narrowband hydrogen alpha data added in, accentuating the red nebulae within.
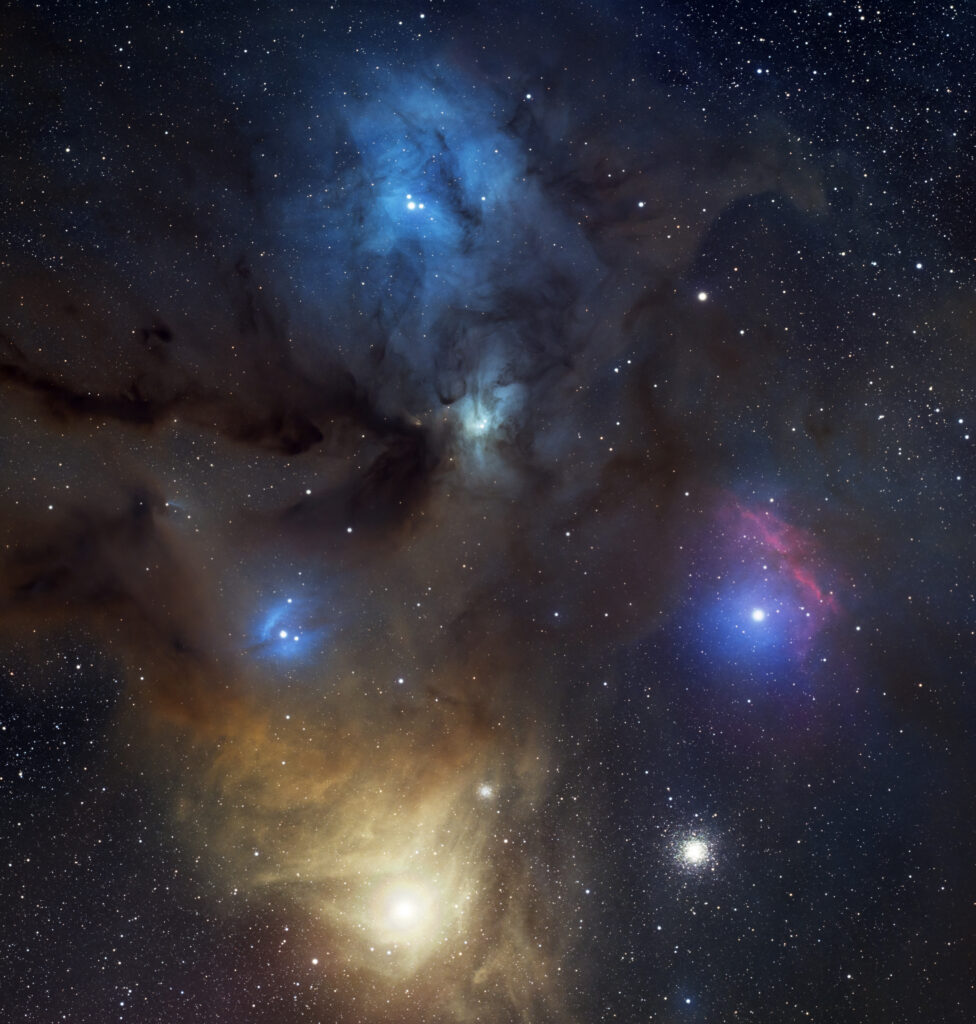
Rho Ophiuchi Cloud Complex has a mix of reflection and emission nebulae. This image is presented in its natural color though.
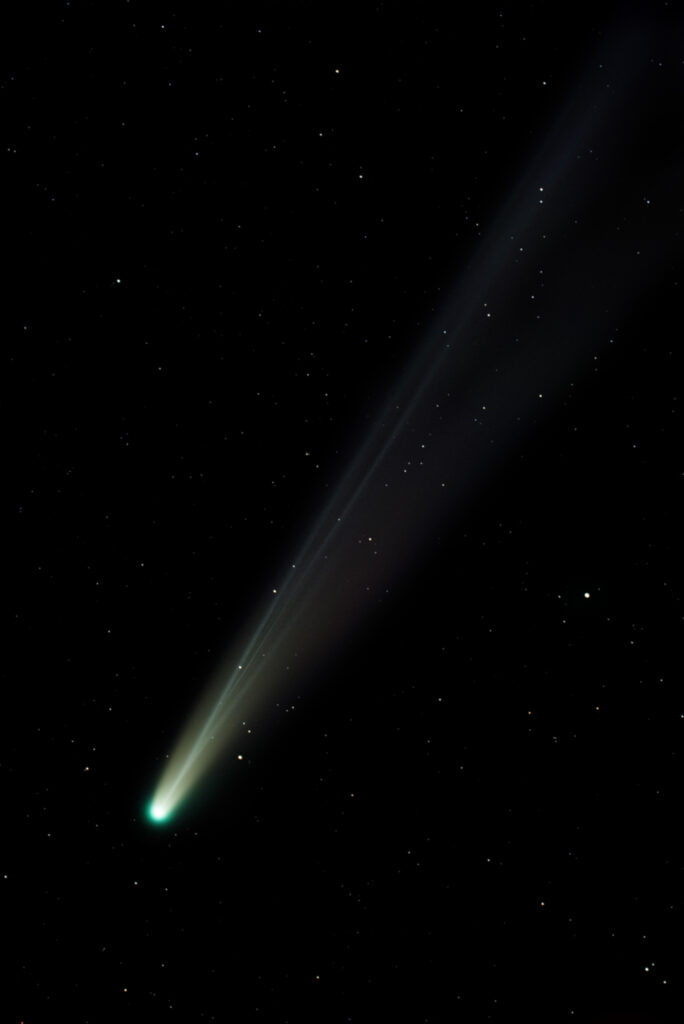
Most other types of astral phenomenon like comets, planets, and the moon, are presented in normal color.
Infrared Imagery
A fringe benefit of getting my Sony A7 III modified to capture the full spectrum of light is that it’s also sensitive to infrared light. With an infrared pass filter, it’s possible to capture *only* infrared light, or a combination of infrared and low frequency visible spectrum. Pure infrared images are black and white, because there is no separation of wavelengths. However, adding some of the visible red spectrum allows the camera to differentiate between frequencies, and color images can be achieved.
Straight out of the camera, foliage, which reflects a lot of infrared light, appears teal, while the normally blue sky appears red. My understanding is that this is because the blue and green sensors in the camera do not exclude infrared, and therefore infrared appears blue-green. Foliage does not reflect visible red though, so it doesn’t show up on the red sensors much. The sky, on the other hand, doesn’t reflect a lot of infrared, and only reflects a little bit of white light which contains red, so it appears deep red. This ends up looking very unnatural, which can be cool, but more often than not, I invert the color which returns the sky to a deep blue and shifts the foliage to bright red or dull peach, depending on the filter used. A 590nm filter allows more visible red and a more saturated image, while a 680nm filter gives more muted colors. Both are beautiful in their own rights.
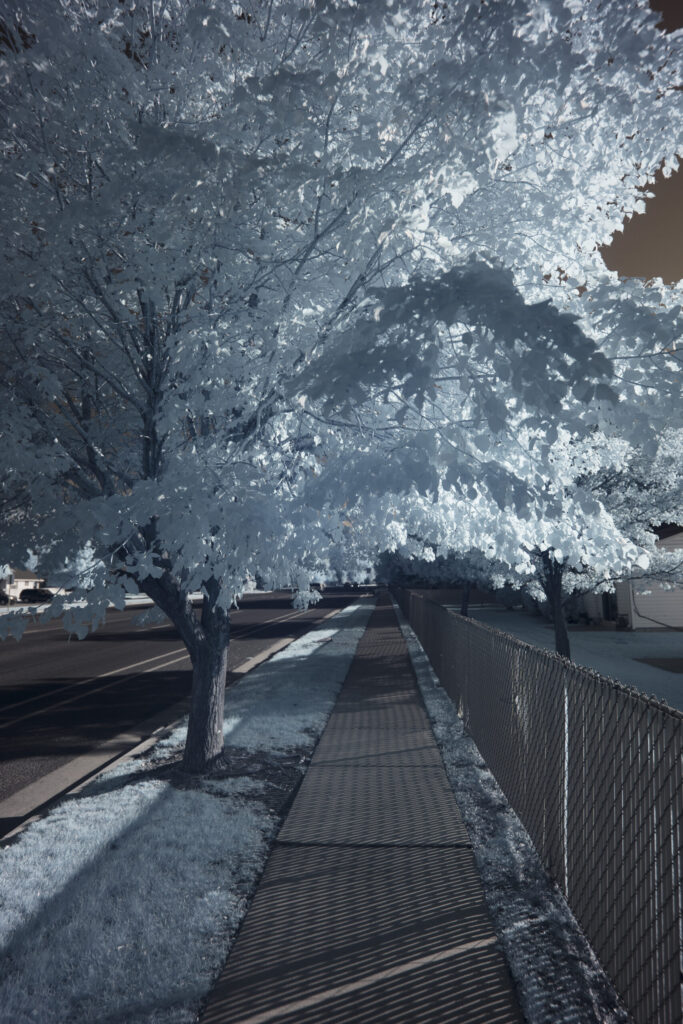
680nm Infrared, white-balanced from camera
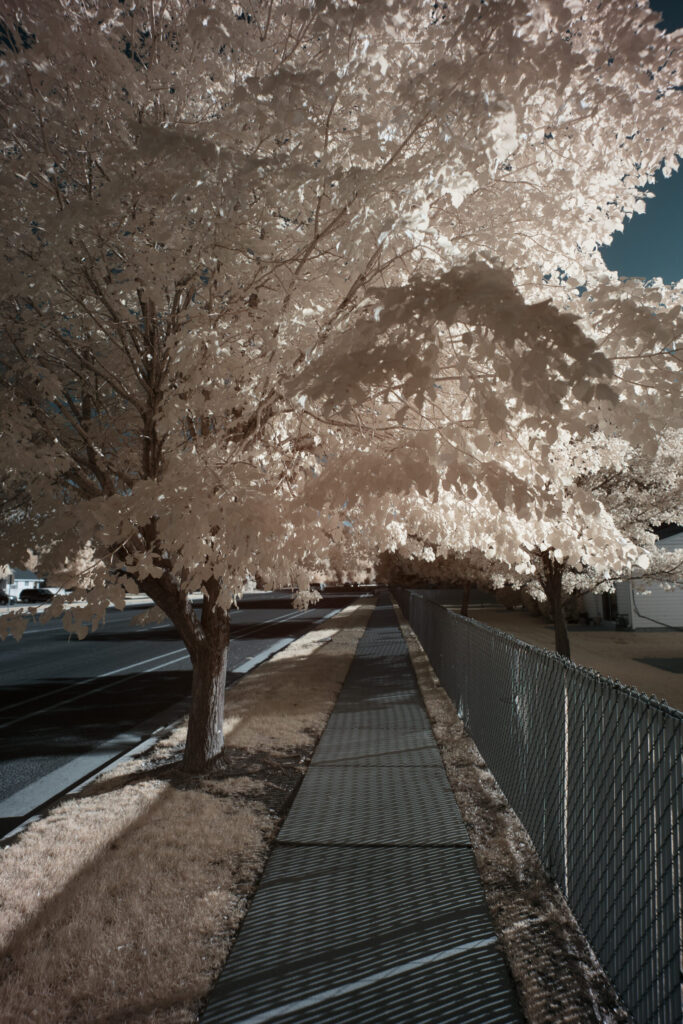
680nm Infrared, white-balanced from camera with inverted color
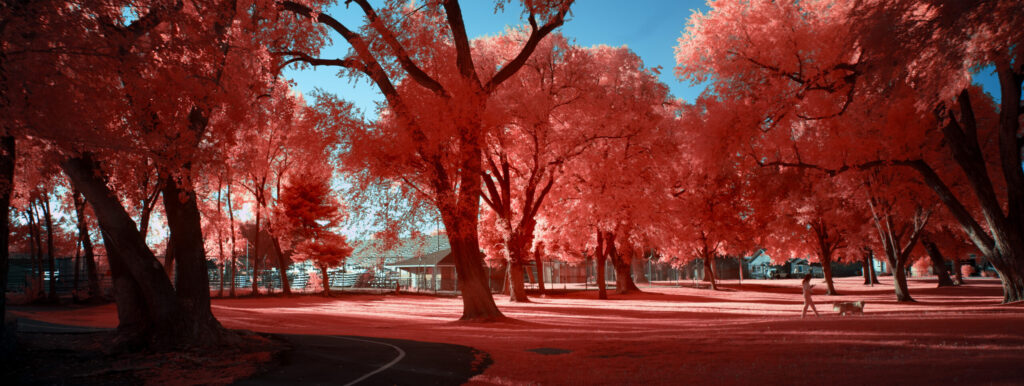
590nm filter, note the richer color from greater color separation
Then how do you capture them?
The answer is “it depends on the image.” Photographs featured on this website come from a variety of cameras, lenses, stabilizers, and post processing software. Broadly speaking, there are tracked and static images, and sometimes an image is a combination of the two.
Static images
For static images, a simple tripod, or sometimes drone, is all that’s needed. During the daytime, handheld regular photographs are even an option. Most of the infrared images are shot handheld or on a tripod, while aerial images are from a drone, and nightscapes almost always use a tripod at the very least. Tracked/blended images, like the Milky Way Core over Paria image, used a tracked sky and static ground, blending the two in post production to get the best detail out of both the sky and ground.
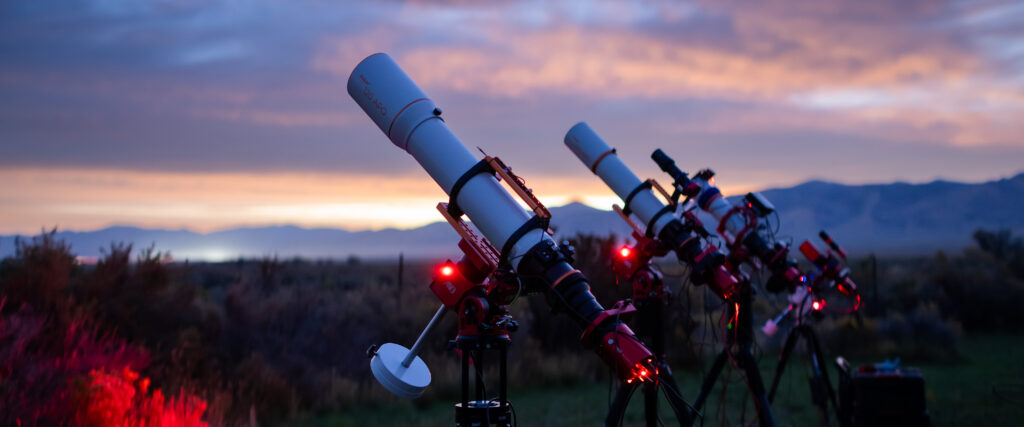
Tracked images
Tracked images involve an equatorial mount of some kind. The mount rotates at the same speed as the stars, sun, or moon, and allows for extremely long exposures of celestial objects. All of my deep space astrophotography uses this method. I currently have three equatorial mounts, the iOptron Skyguider Pro, SkyWatcher Star Adventurer GTI, and the ZWO AM3.
While the SkyGuider Pro is mostly used these days for widefield images at 85mm or wider, the other two mounts are for longer focal lengths. To get the precise tracking needed for long focal lengths, a guide camera is needed, either as a secondary sensor inside/using the main scope or as a separate camera and scope mounted on top of the primary. This secondary camera sends an image at a higher frame rate to a computer to detect and correct deviations down to quarter of an arc second at times!